Creating Transitions
In this example we are showing transitions created using pan and zoom
manipulations.
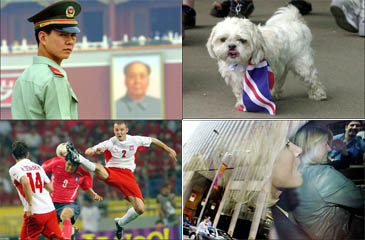
Push Transitions
Creating Push transitions is very simple. To do it you need to
create a collage of images as shown below.
In this Example we combine pan and zoom effects with
the transitions.
Here are the tricks to doing this well and quickly.
-
Scale all the images to the same size
-
Set the Camera Window Aspect Ration (under Options -
Set -Viewer Aspect Ration) to Image (the Aspect of the individual
image)
-
Set the Camera Window size to the size of the image.
To do this exactly, right click on the Camera Window and set the
Width value to the Width of the Image. As long as the aspect
ration is set to Image the fit will be exact.
-
Use the Camera Window navigation keys to move the
camera window across the image.
-
CTL + → Right
justifies the Camera Window
-
CTL + ↓ Bottom justifies the Camera
Window
-
CTL + ← Left justifies the Camera
Window
-
CTL + ↑ Top justifies the Camera Window
Try the these controls out they are huge
timesavers and give accurate repeatable results.